Build Your First Bot (Sample Bot)
Let's walk through the setup steps for a new bot that is designed to nurture leads who "like" your content and eventually make them an offer to Category a sales call with you.
Watch A New Bot Being Built:
Bot-Building Steps:
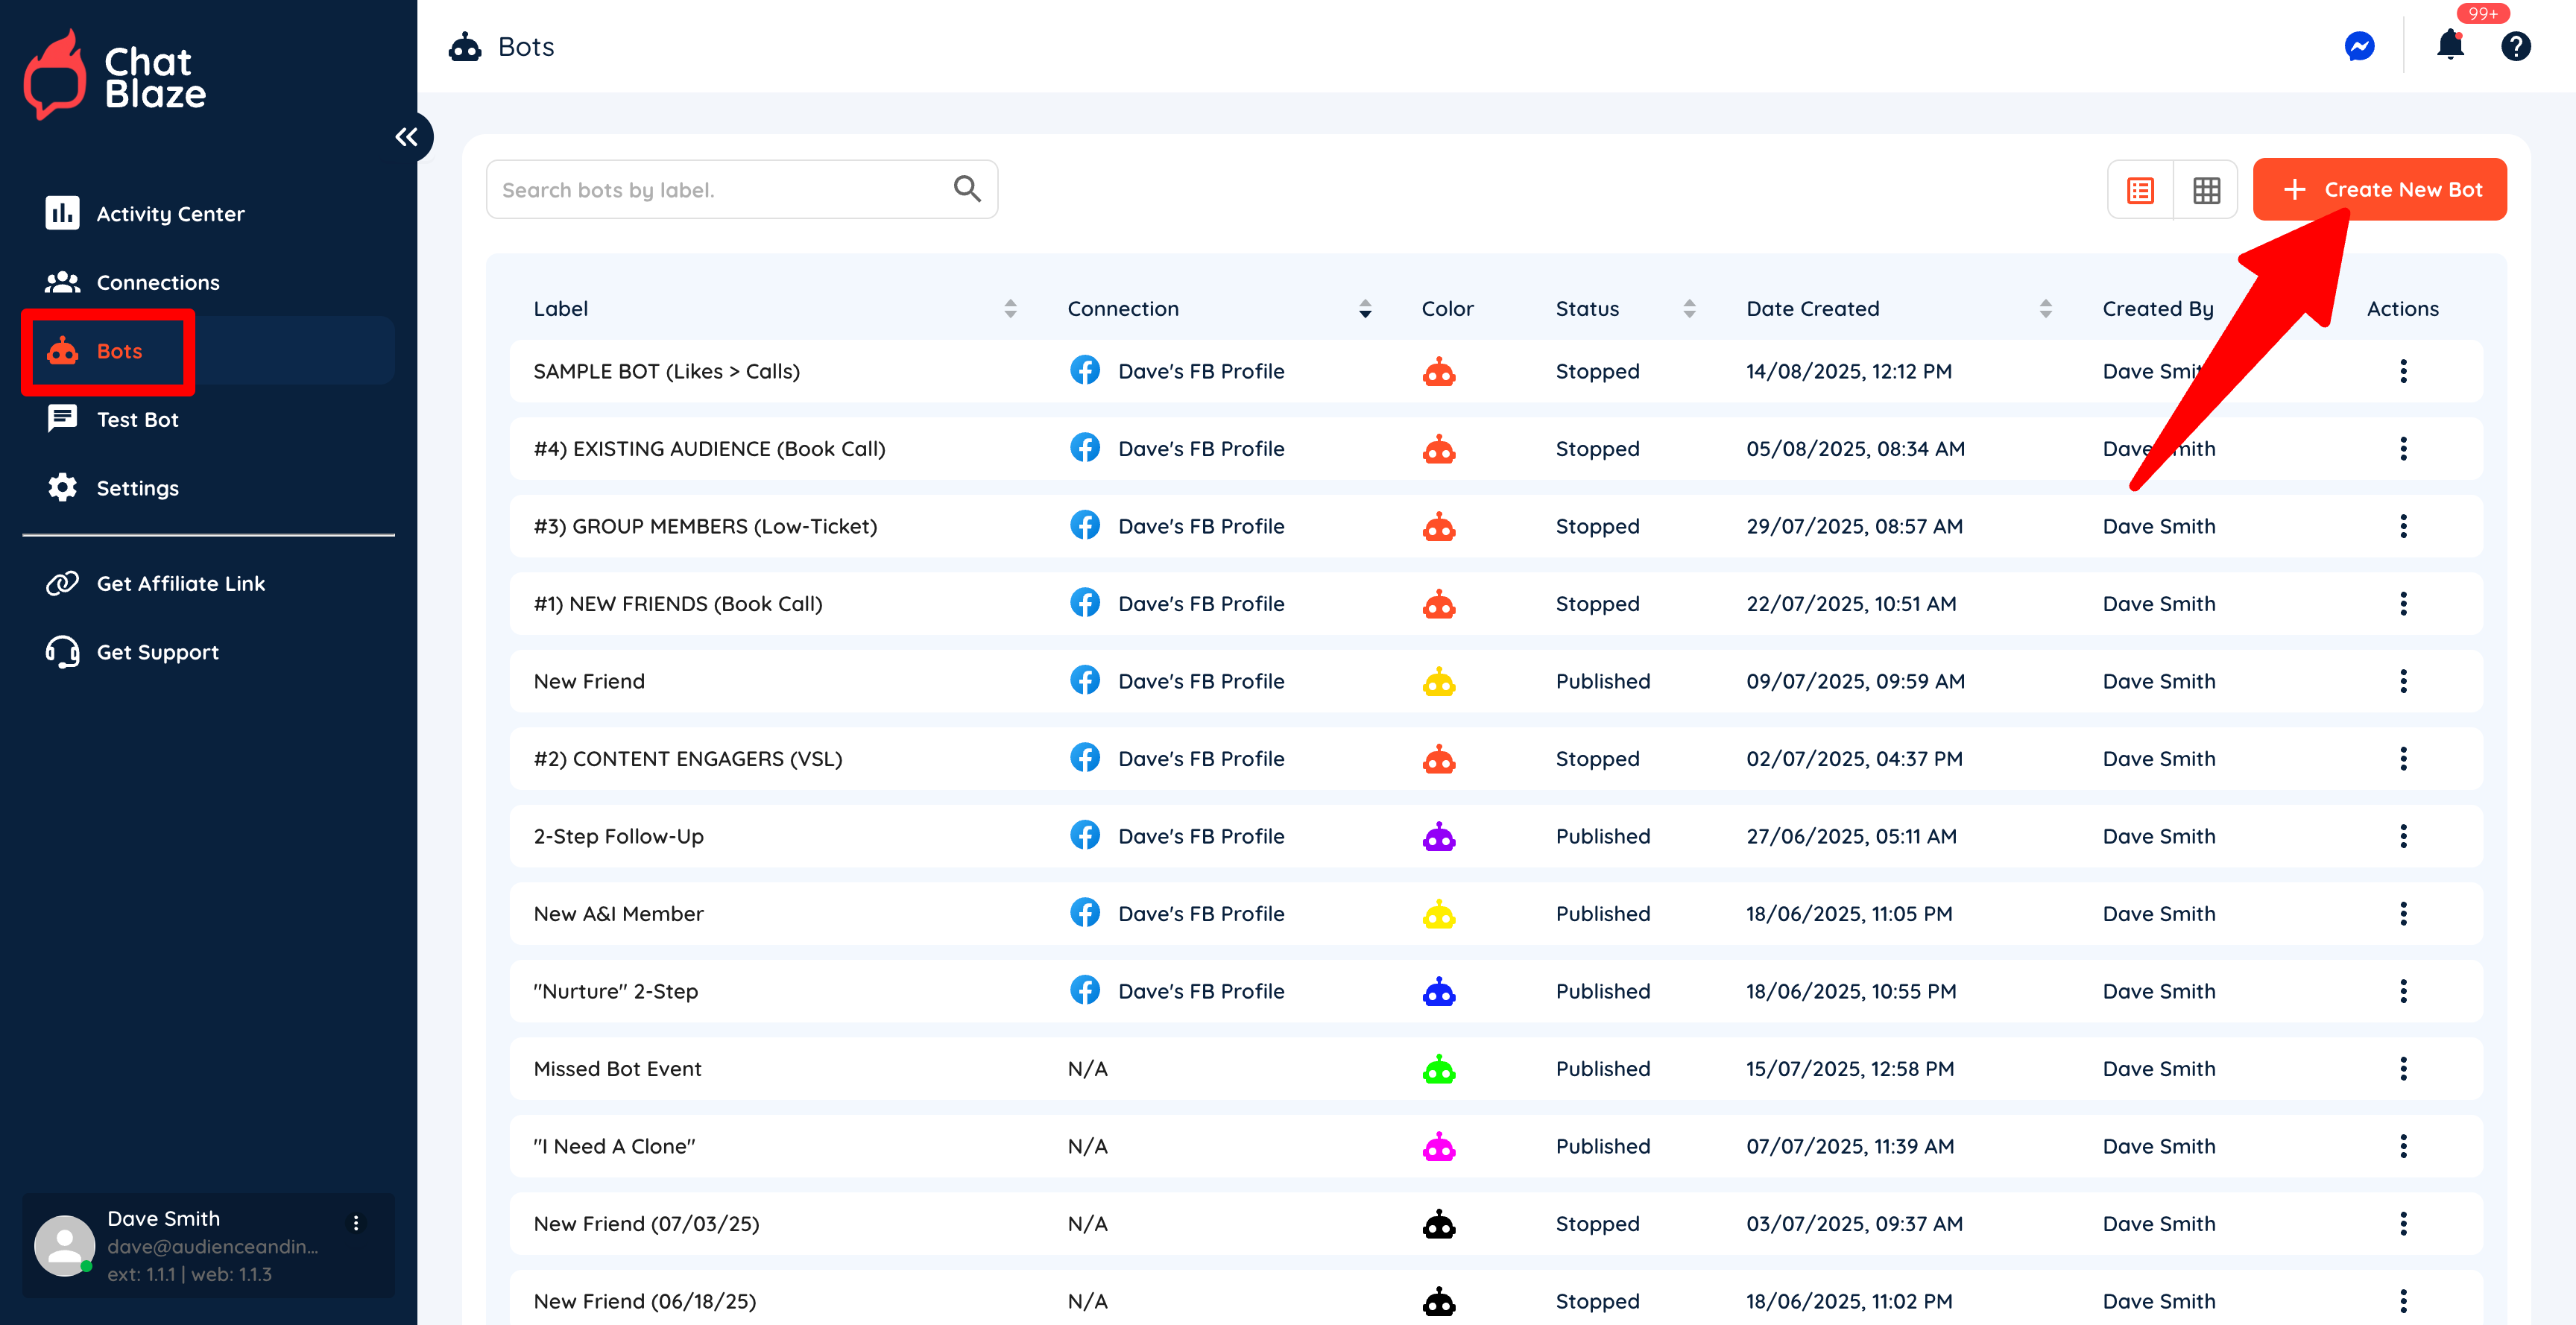
1) Create a new bot by going to "Bots" and then clicking "Create New Bot".
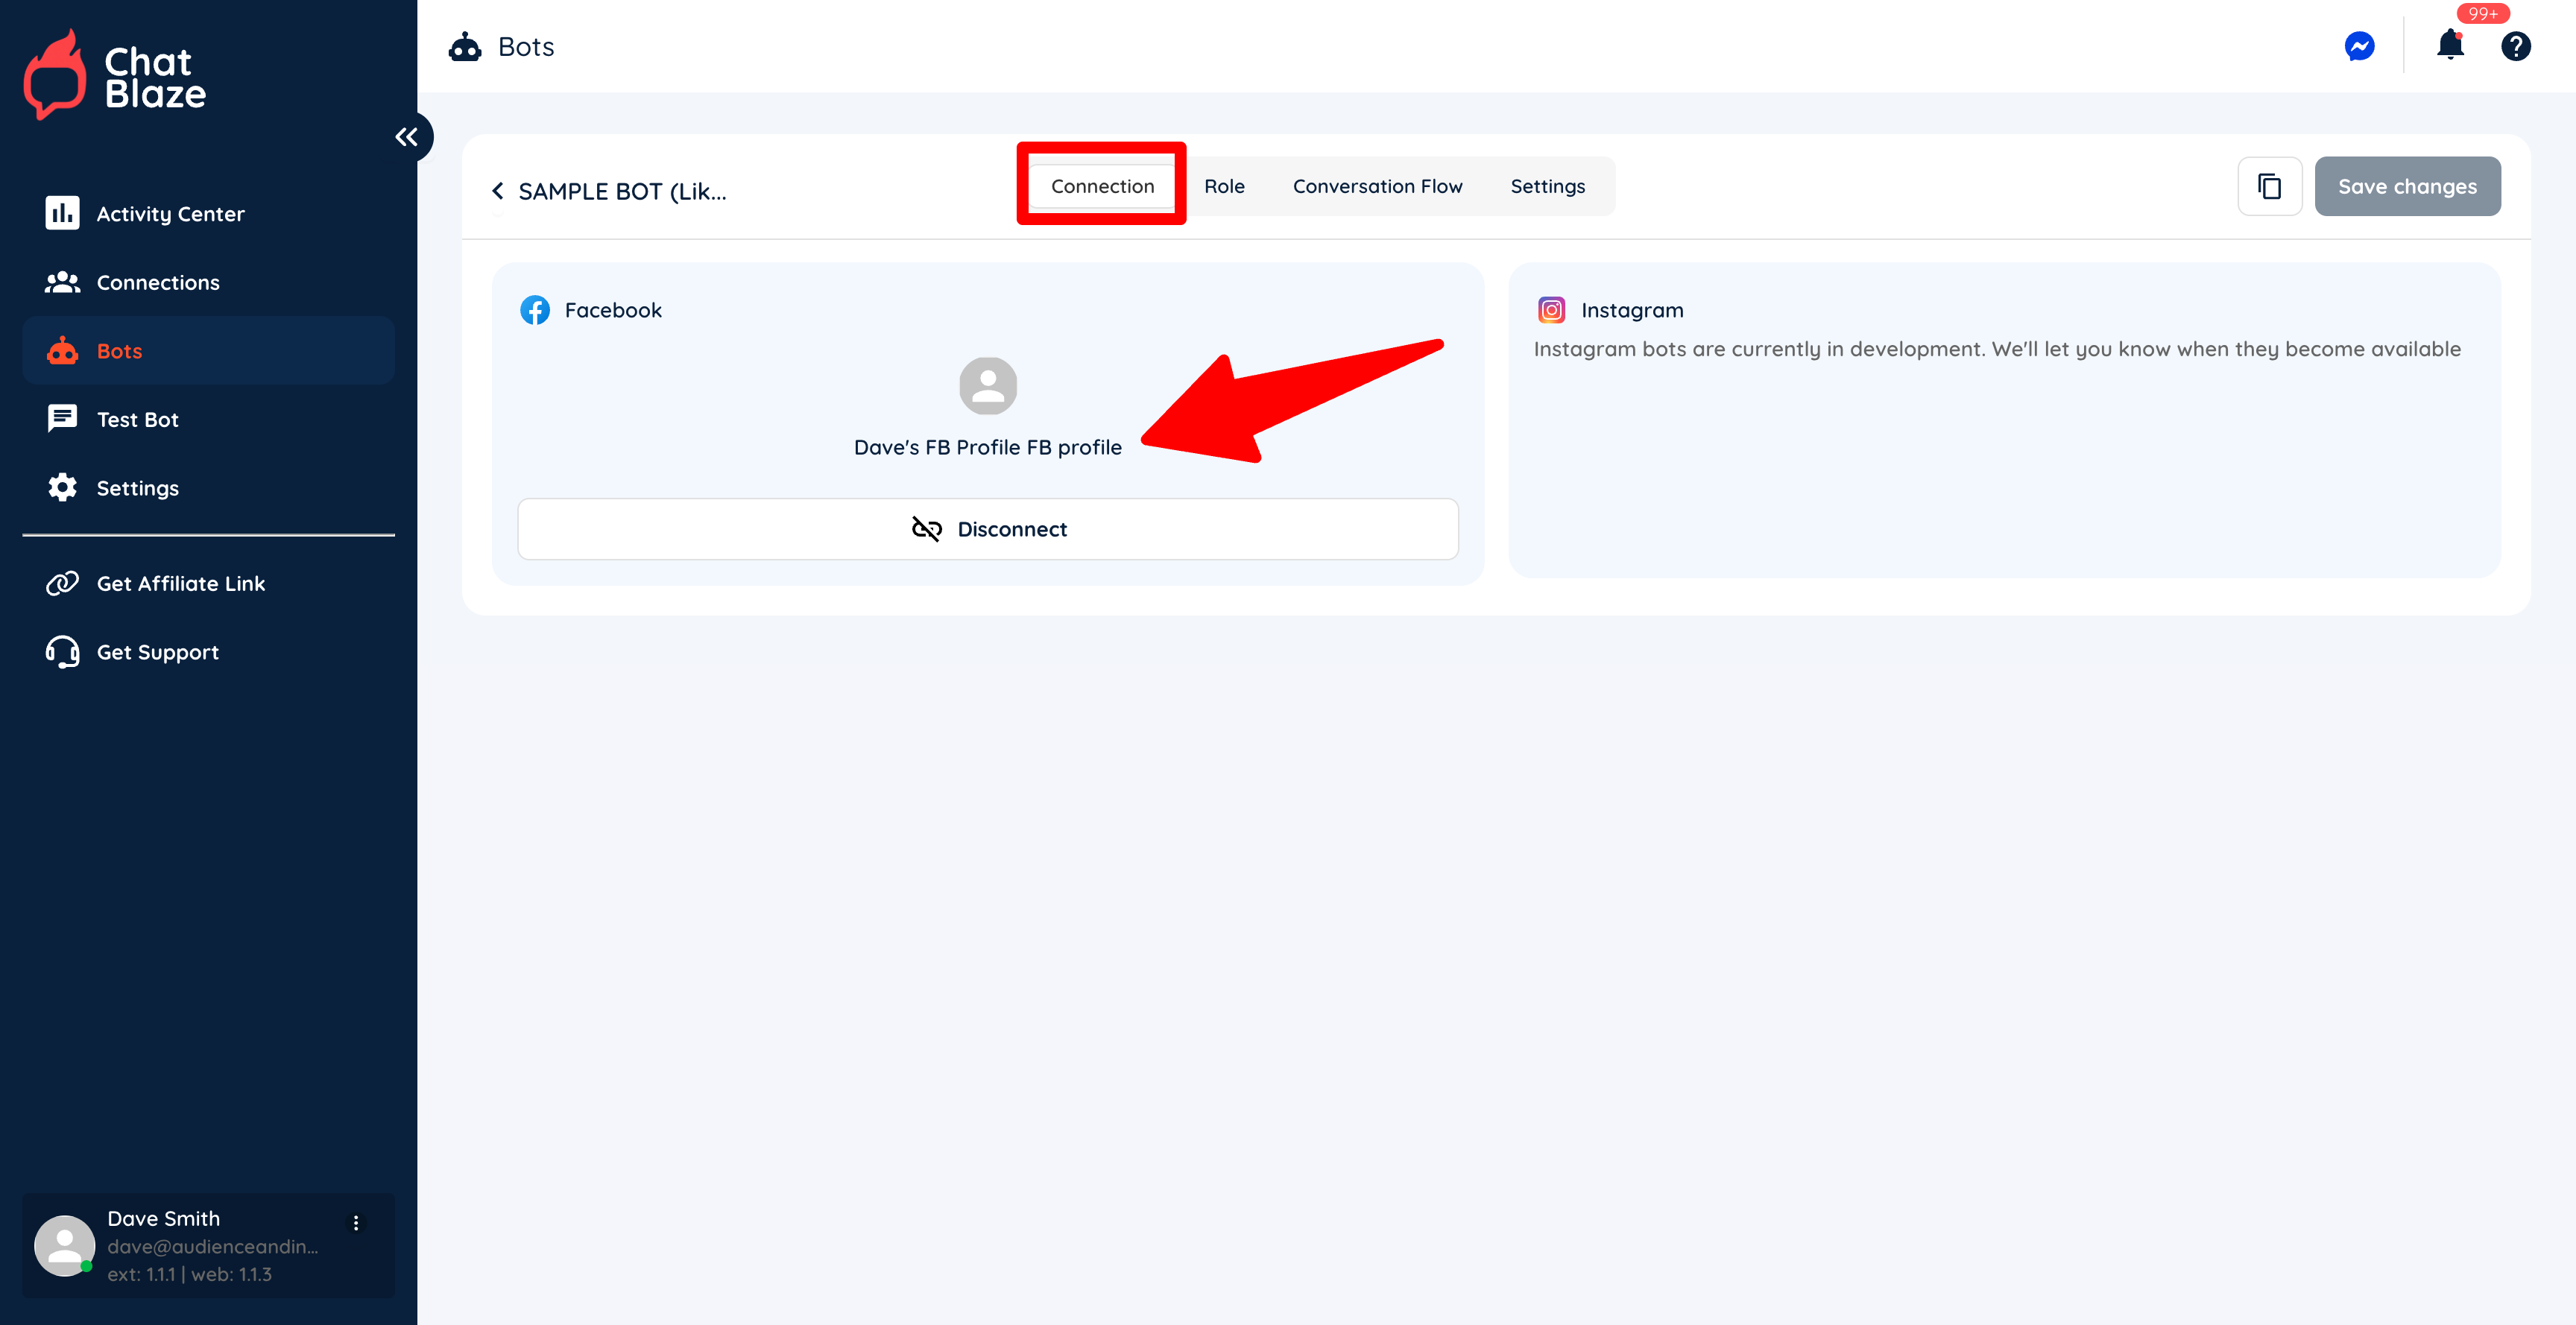
2) Connect your new bot to your social profile.
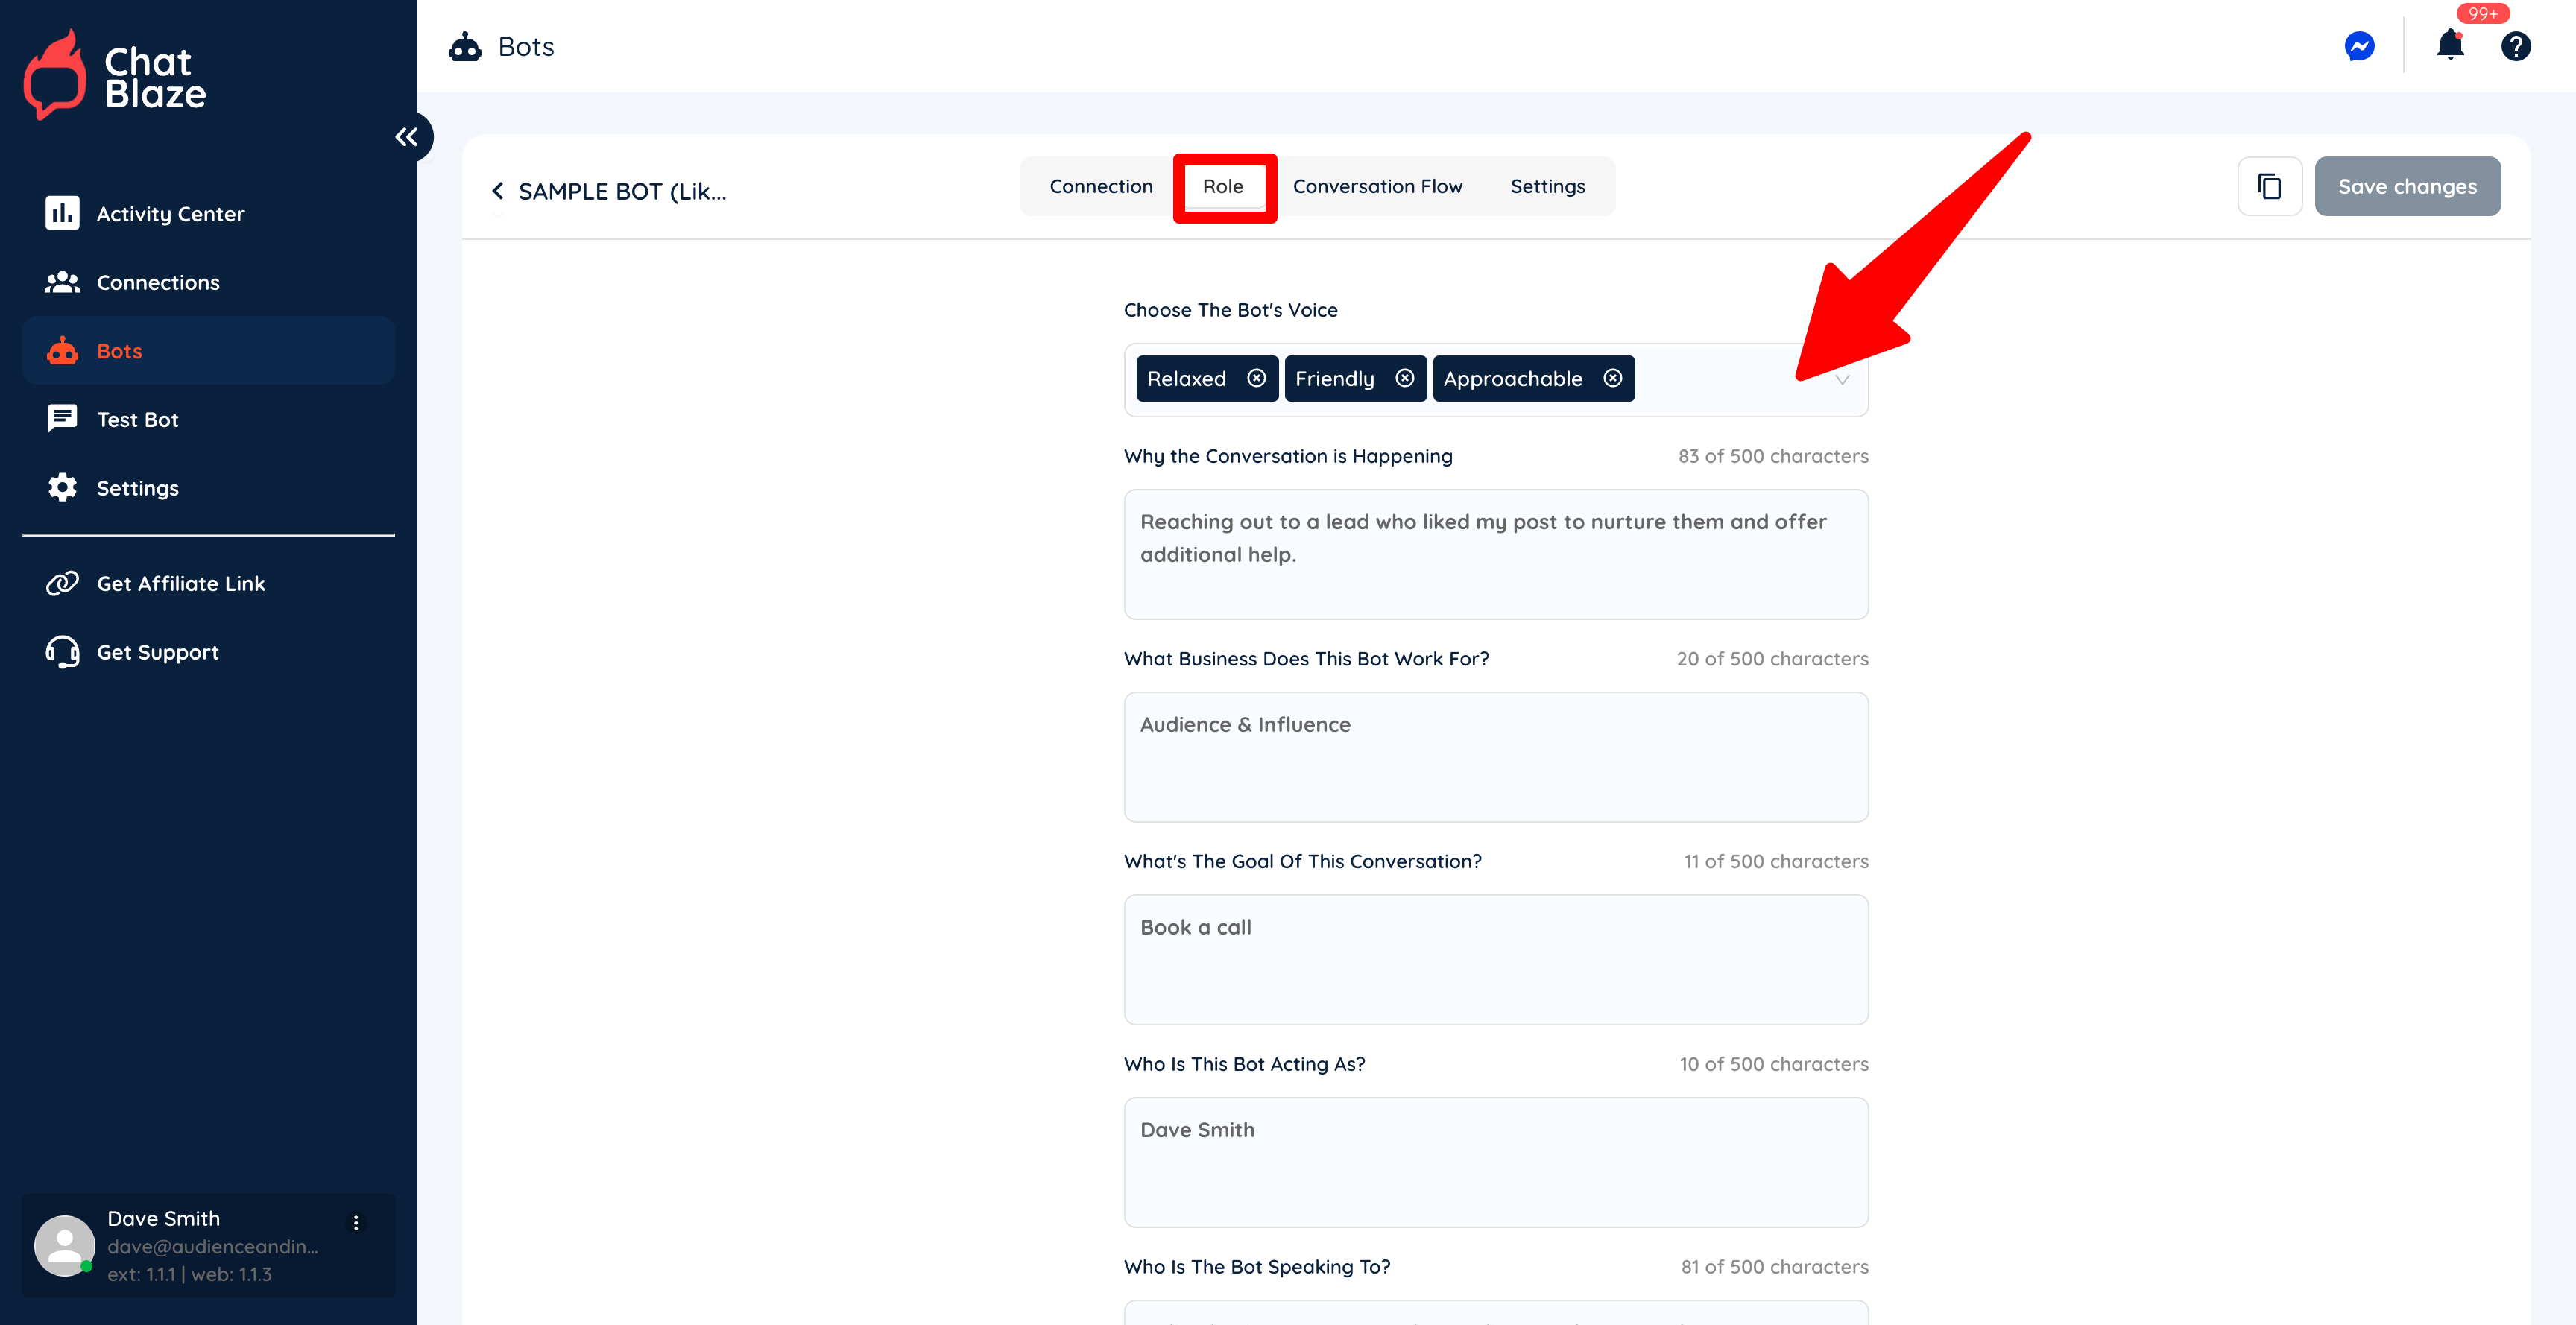
3) Fill in each section on the "Role" tab.
Save your changes.
It's important to choose a bot "Voice" that is similar to how you would personally chat with leads. If you describe the bot's voice as "funny", your bot will joke around during its conversations. Is that how you'd chat?
Your other inputs on this Article can be brief as they are just used to give your bot a little context regarding the chats it will be having with your leads.
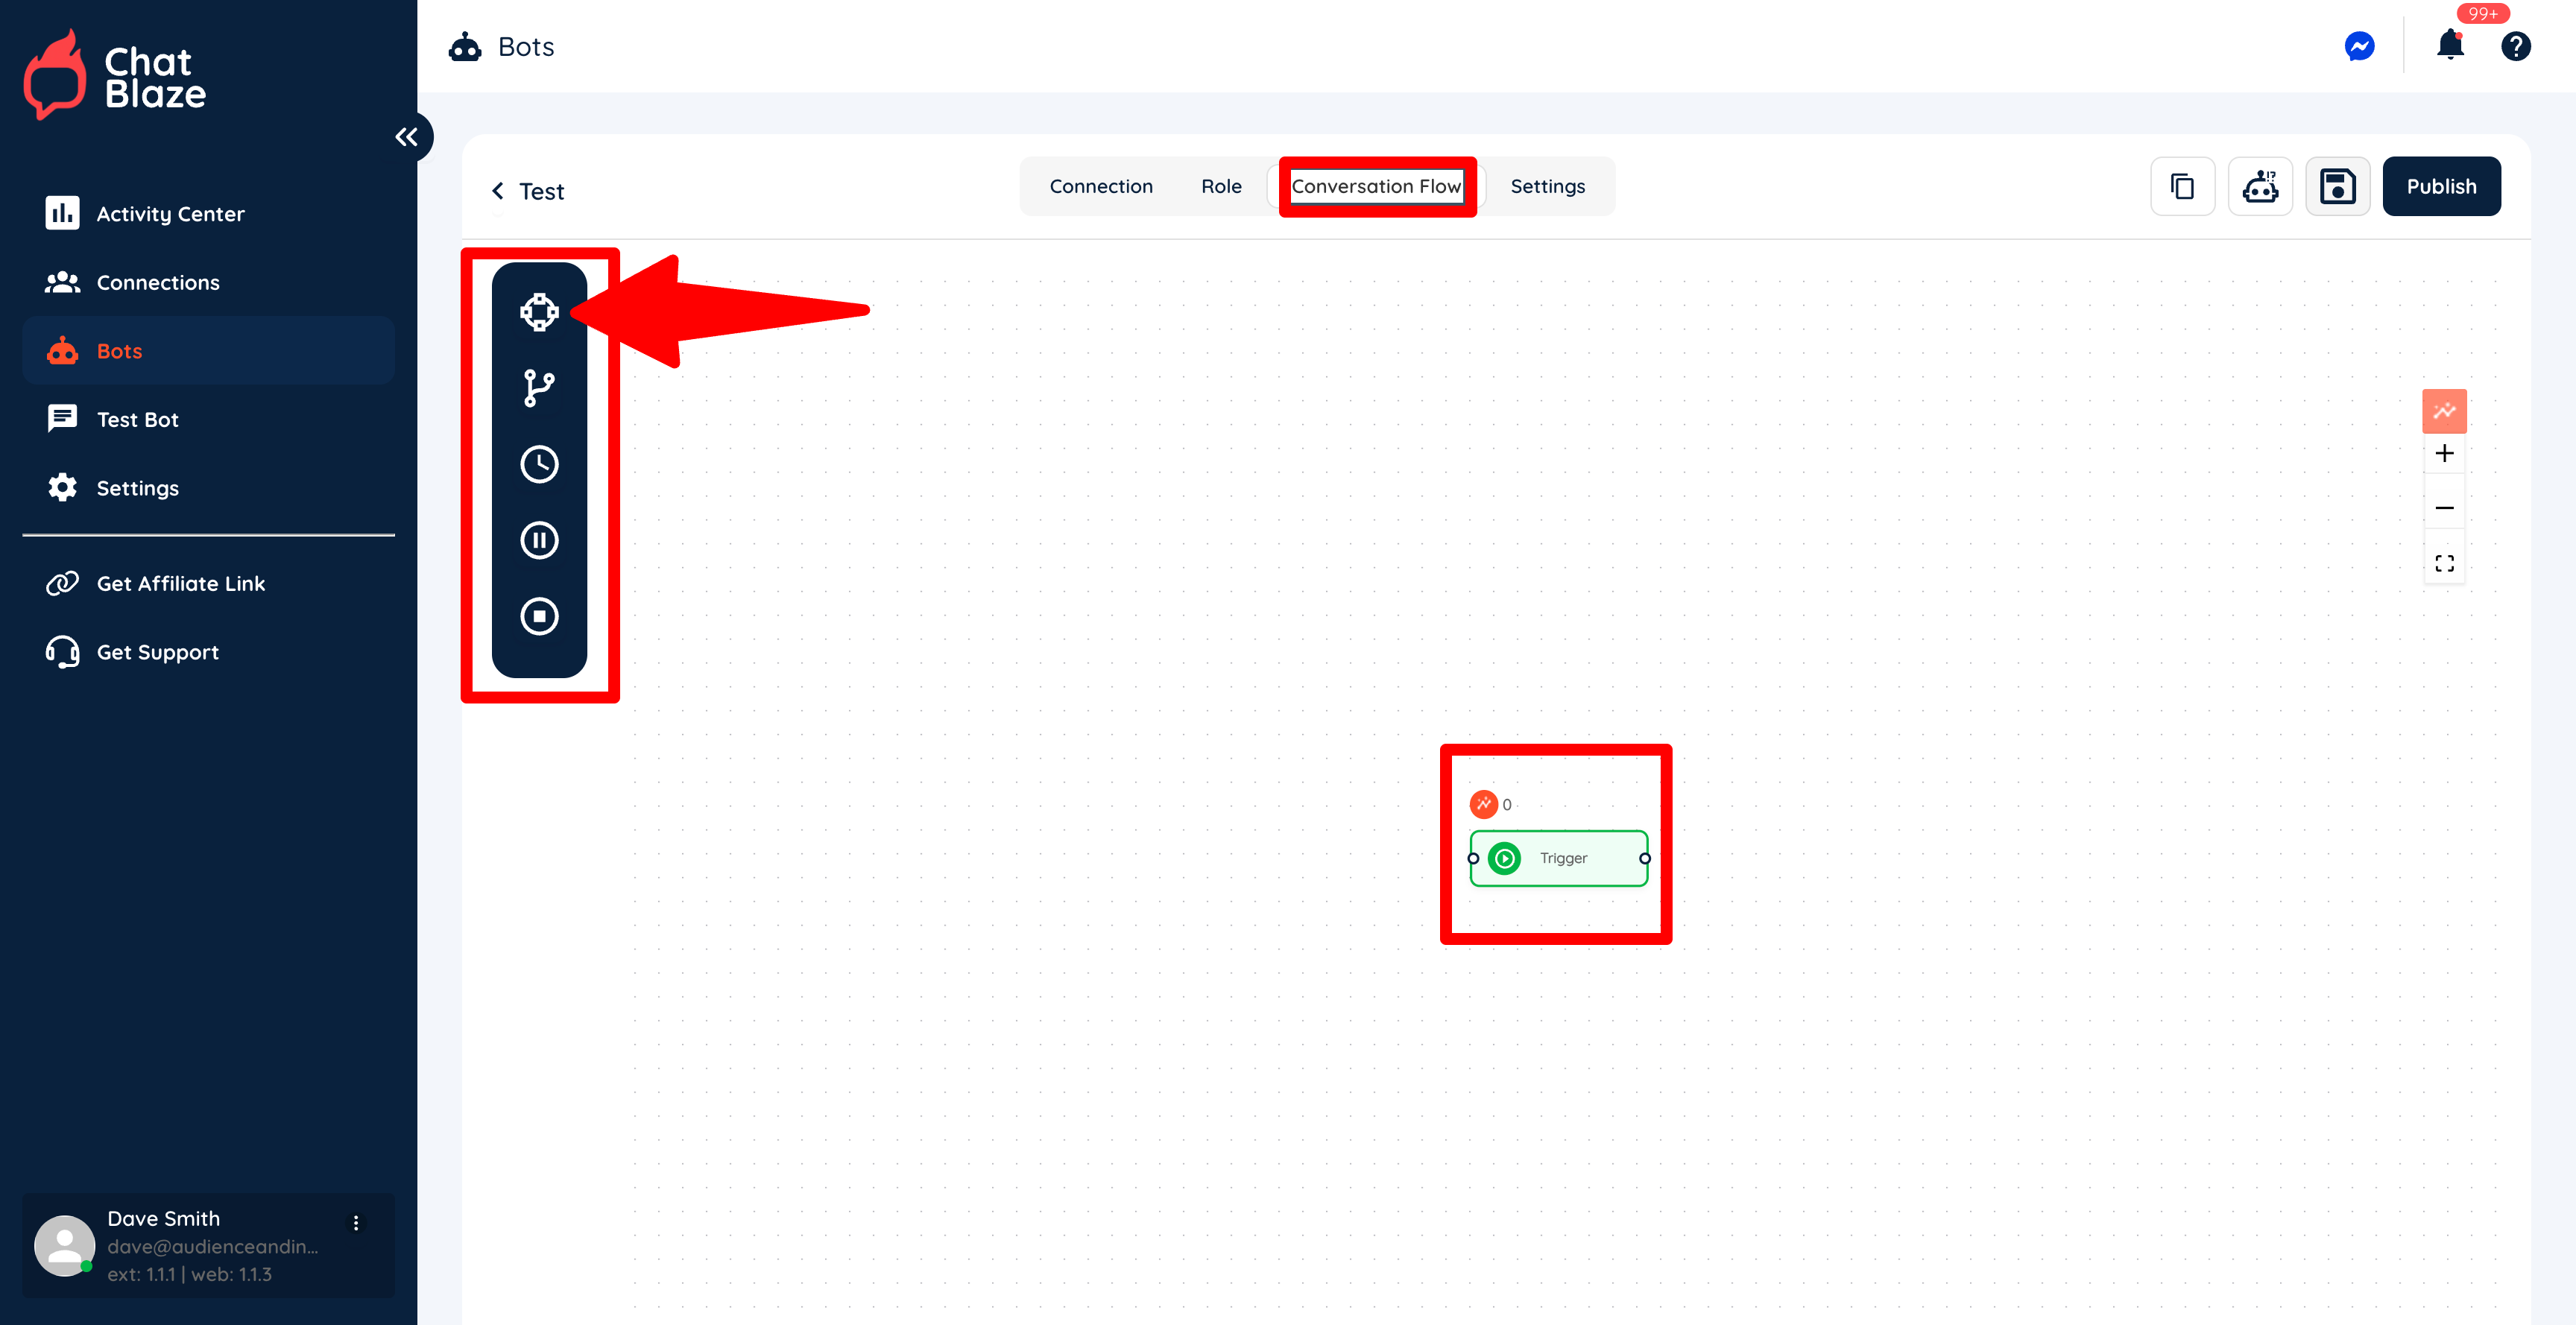
4) Now move onto the "Conversation Flow" where you will begin building your bot. Initially there will be a single "Node" on your canvas called a "Trigger", which tells ChatBlaze when to assign this specific bot to a lead.
There is also a list of other nodes on the left side of the canvas that you can drag after the "Trigger" node. These nodes can ask questions, segment leads, end conversations, etc.
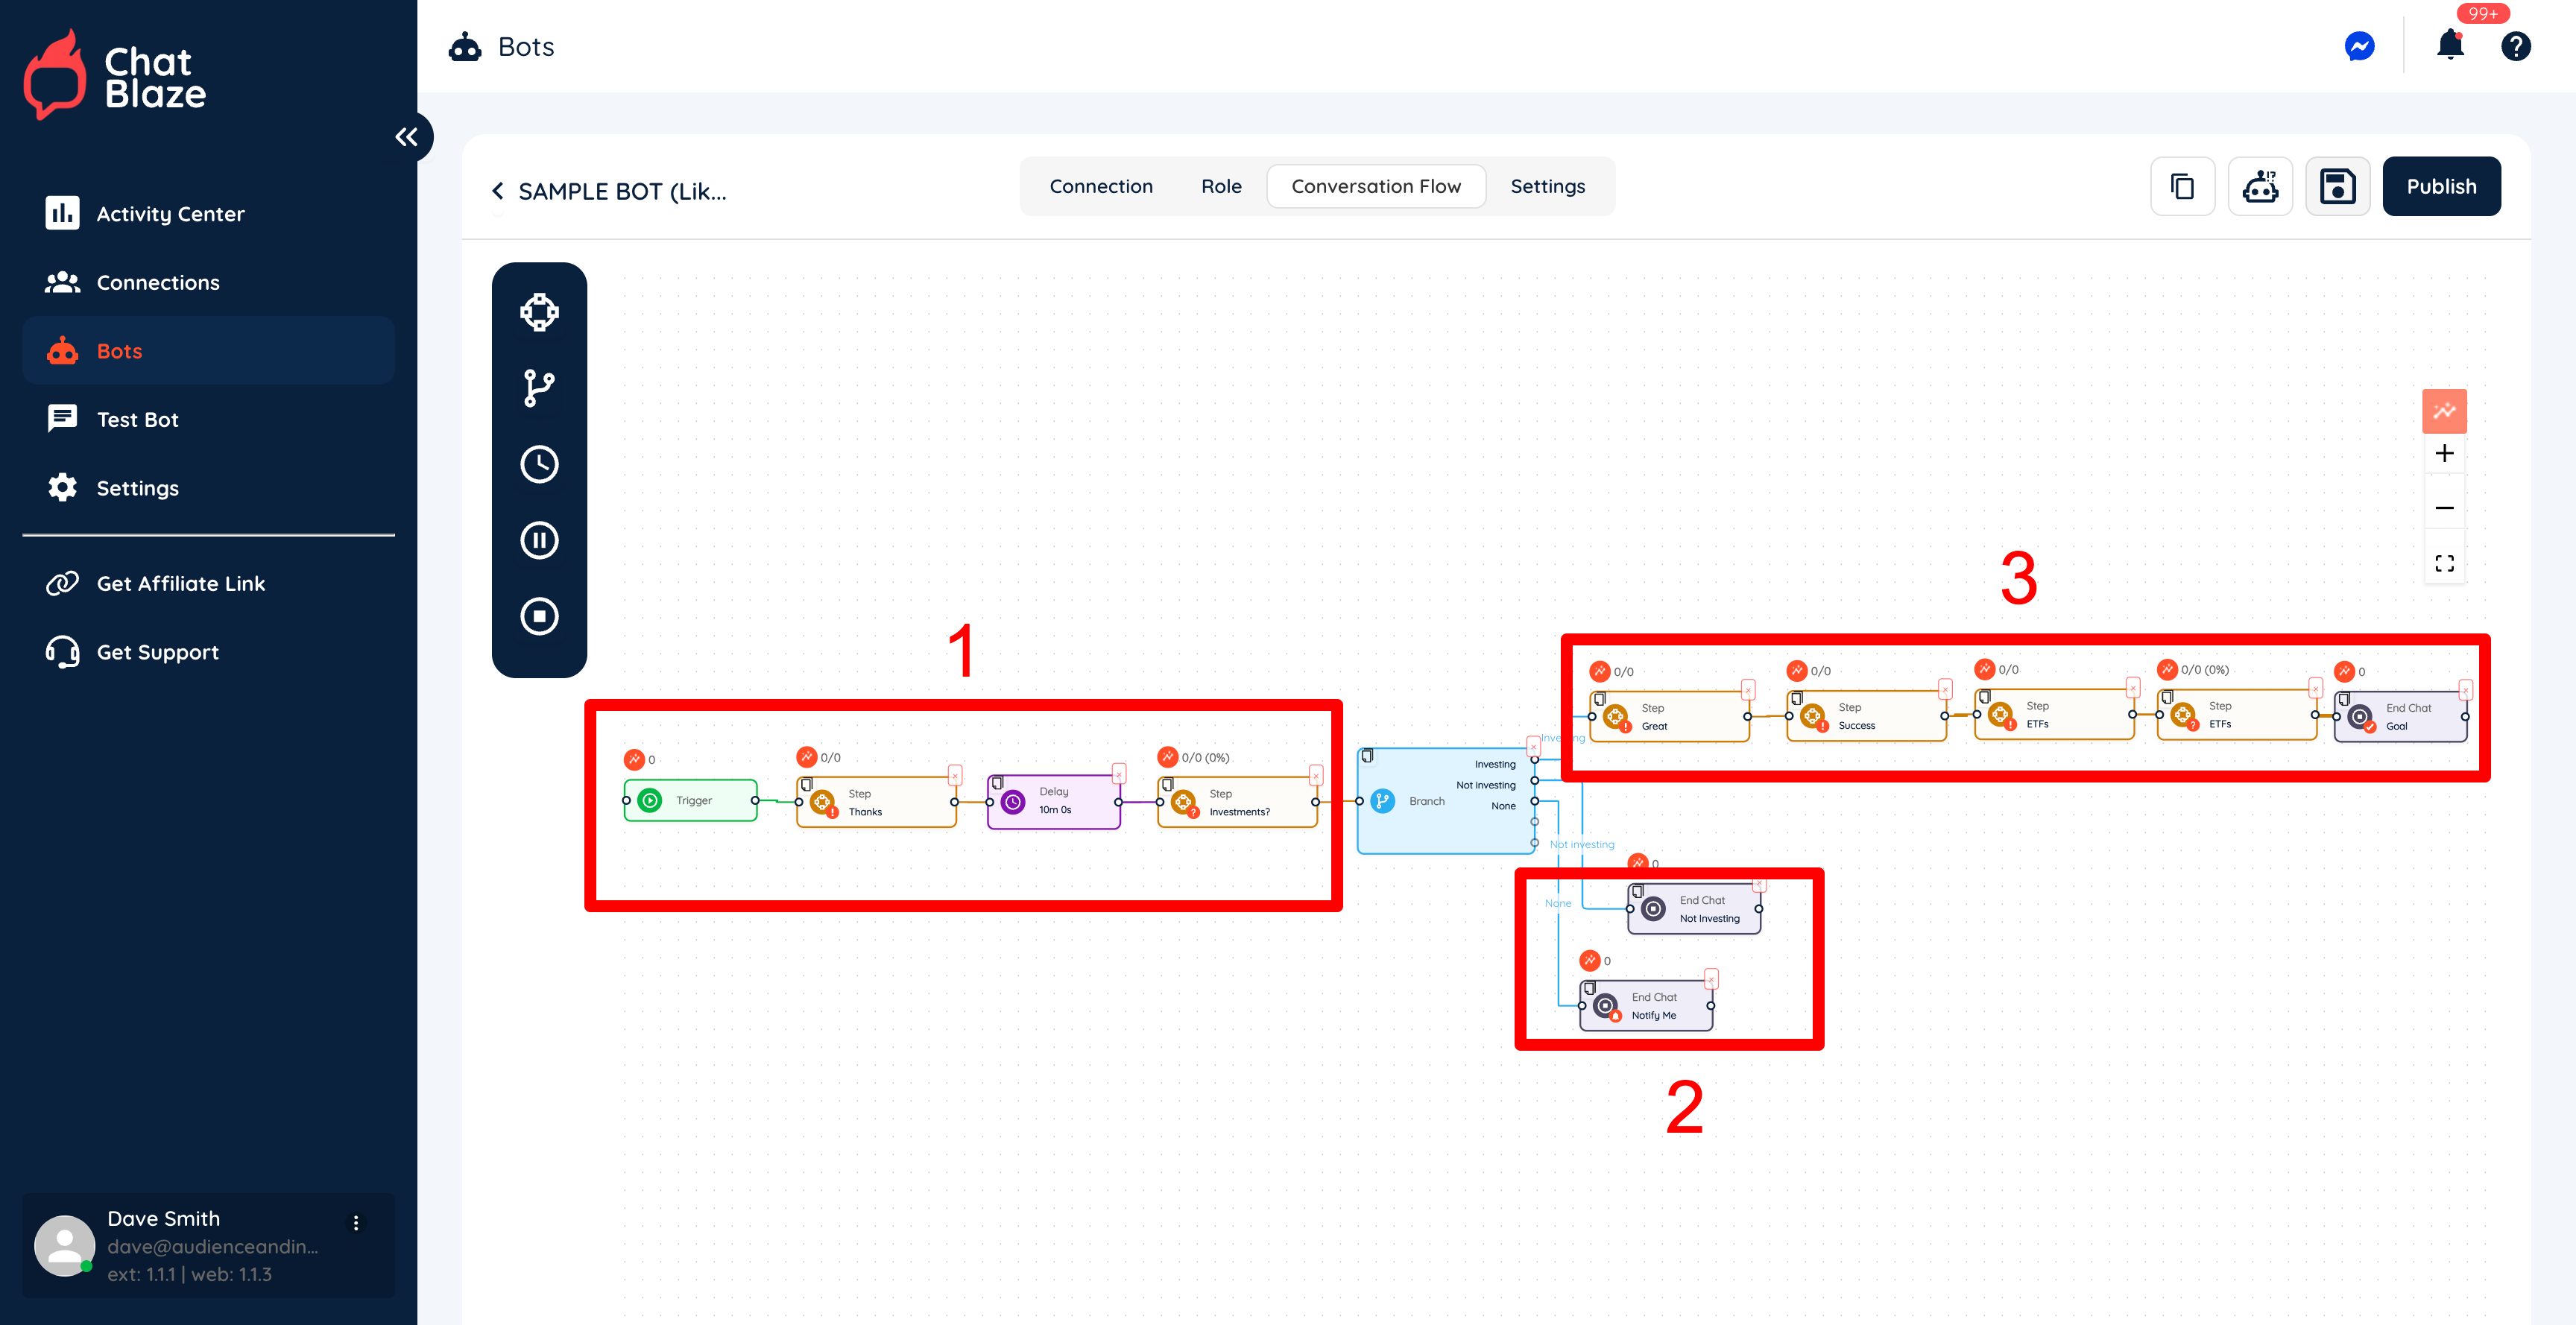
5) By adding various nodes to the canvas, this sample bot now has 3 distinct parts:
First, it greets the lead, does a bit of nurturing, and then asks a question.
Second, it segments leads based on their response to the question. Those who aren't likely ready to buy anything have their conversation ended. Those leads can now be assigned a new bot when they show that they are more interested in receiving an offer in the future.
Third, those leads who do show interest are moved towards receiving an offer, which in this case is Categorying a sales call with you.
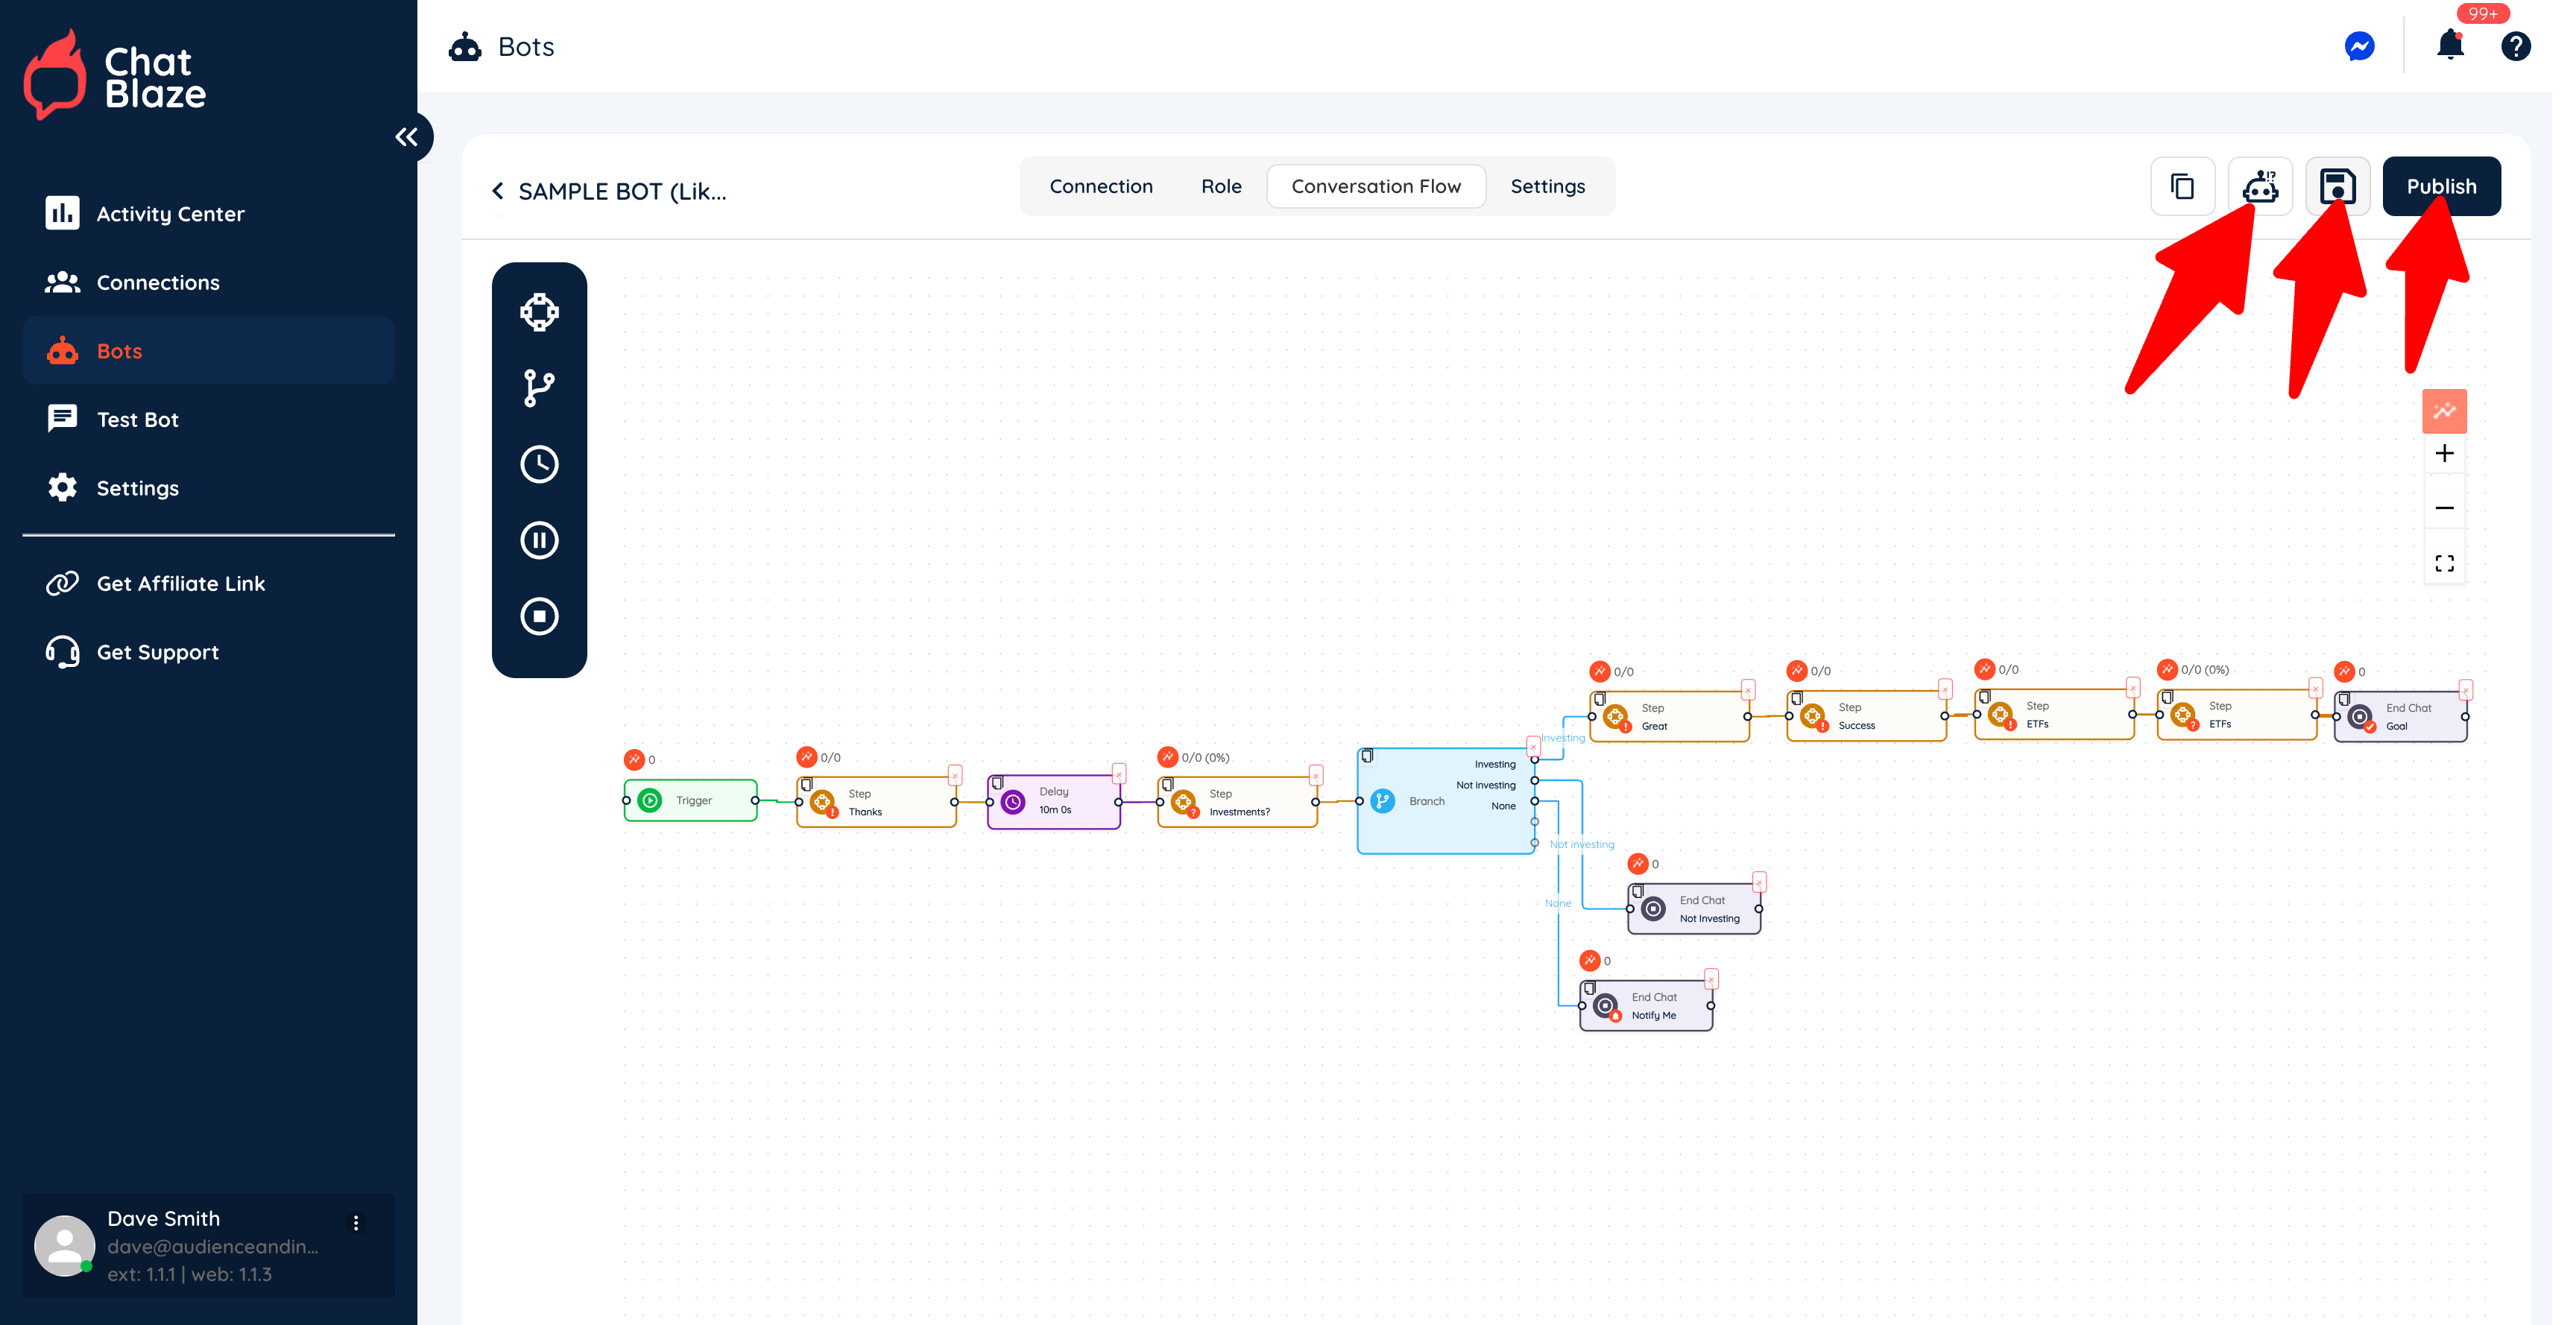
6) Save your bot, test it, then publish it when it's working exactly as you'd like.
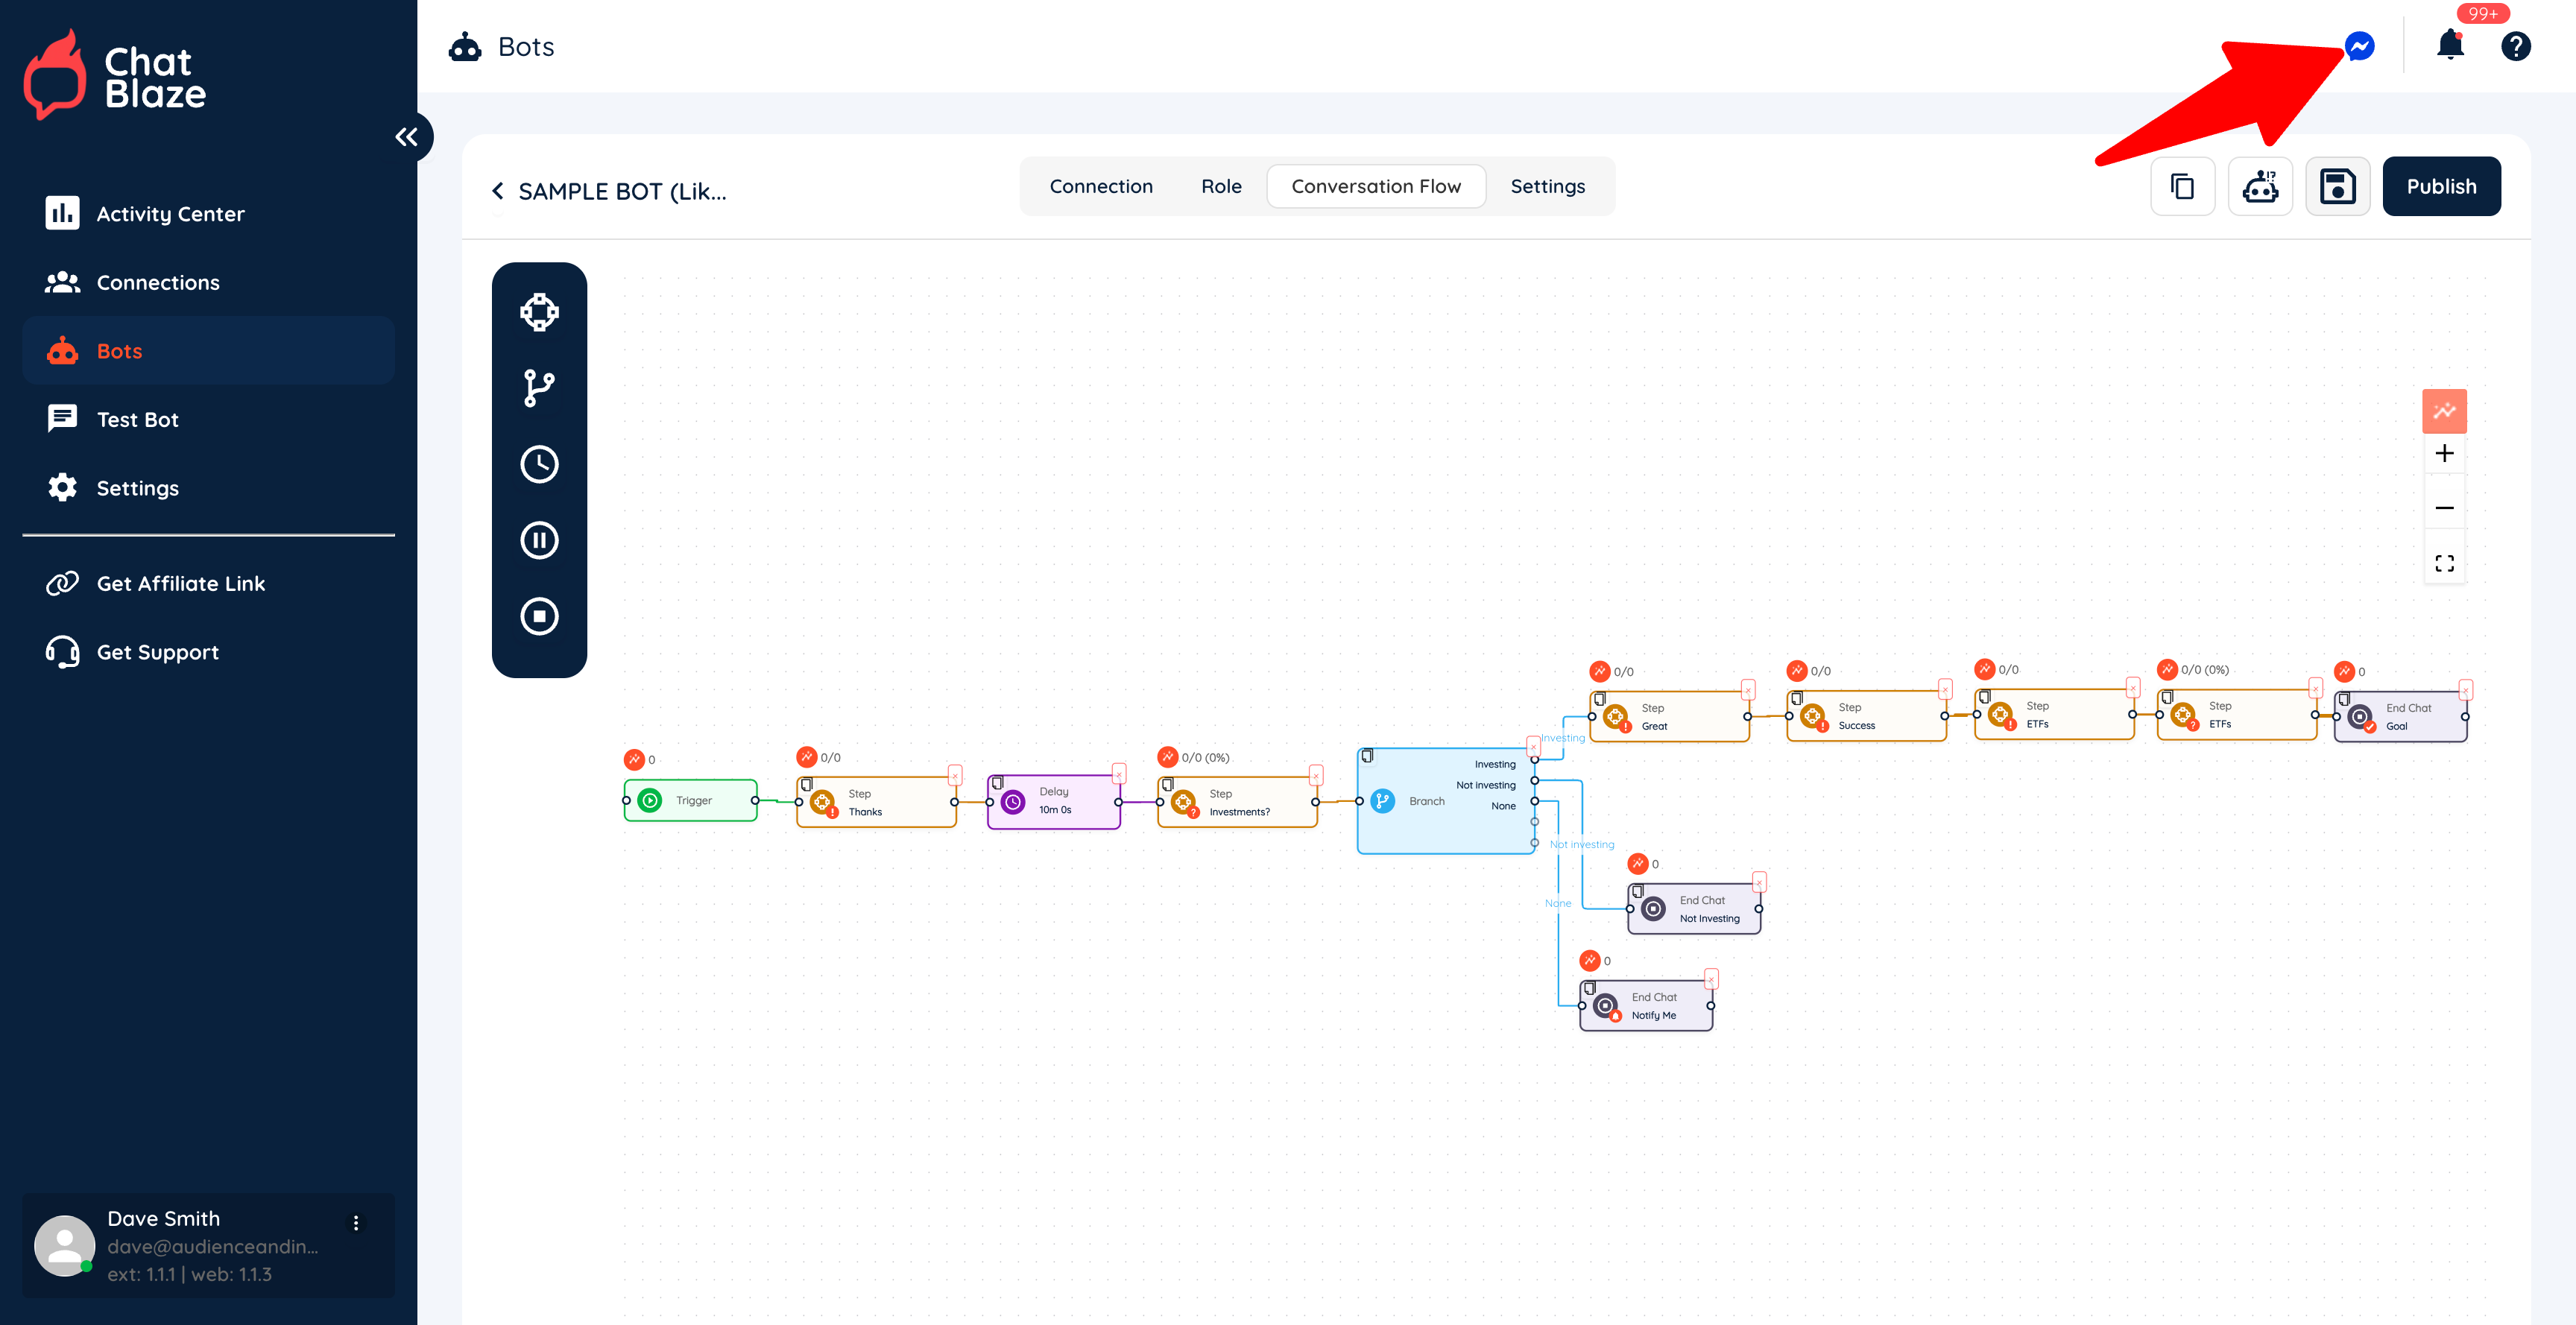
Once it's published, your bot will begin chatting with leads any time you have your ChatBlaze Messenger window open and the trigger you set for this bot is activated.
7) To open your ChatBlaze Messenger window, click on the Messenger icon. Again, as soon as your bot is published and you open this window, your bots will be able to chat with leads.
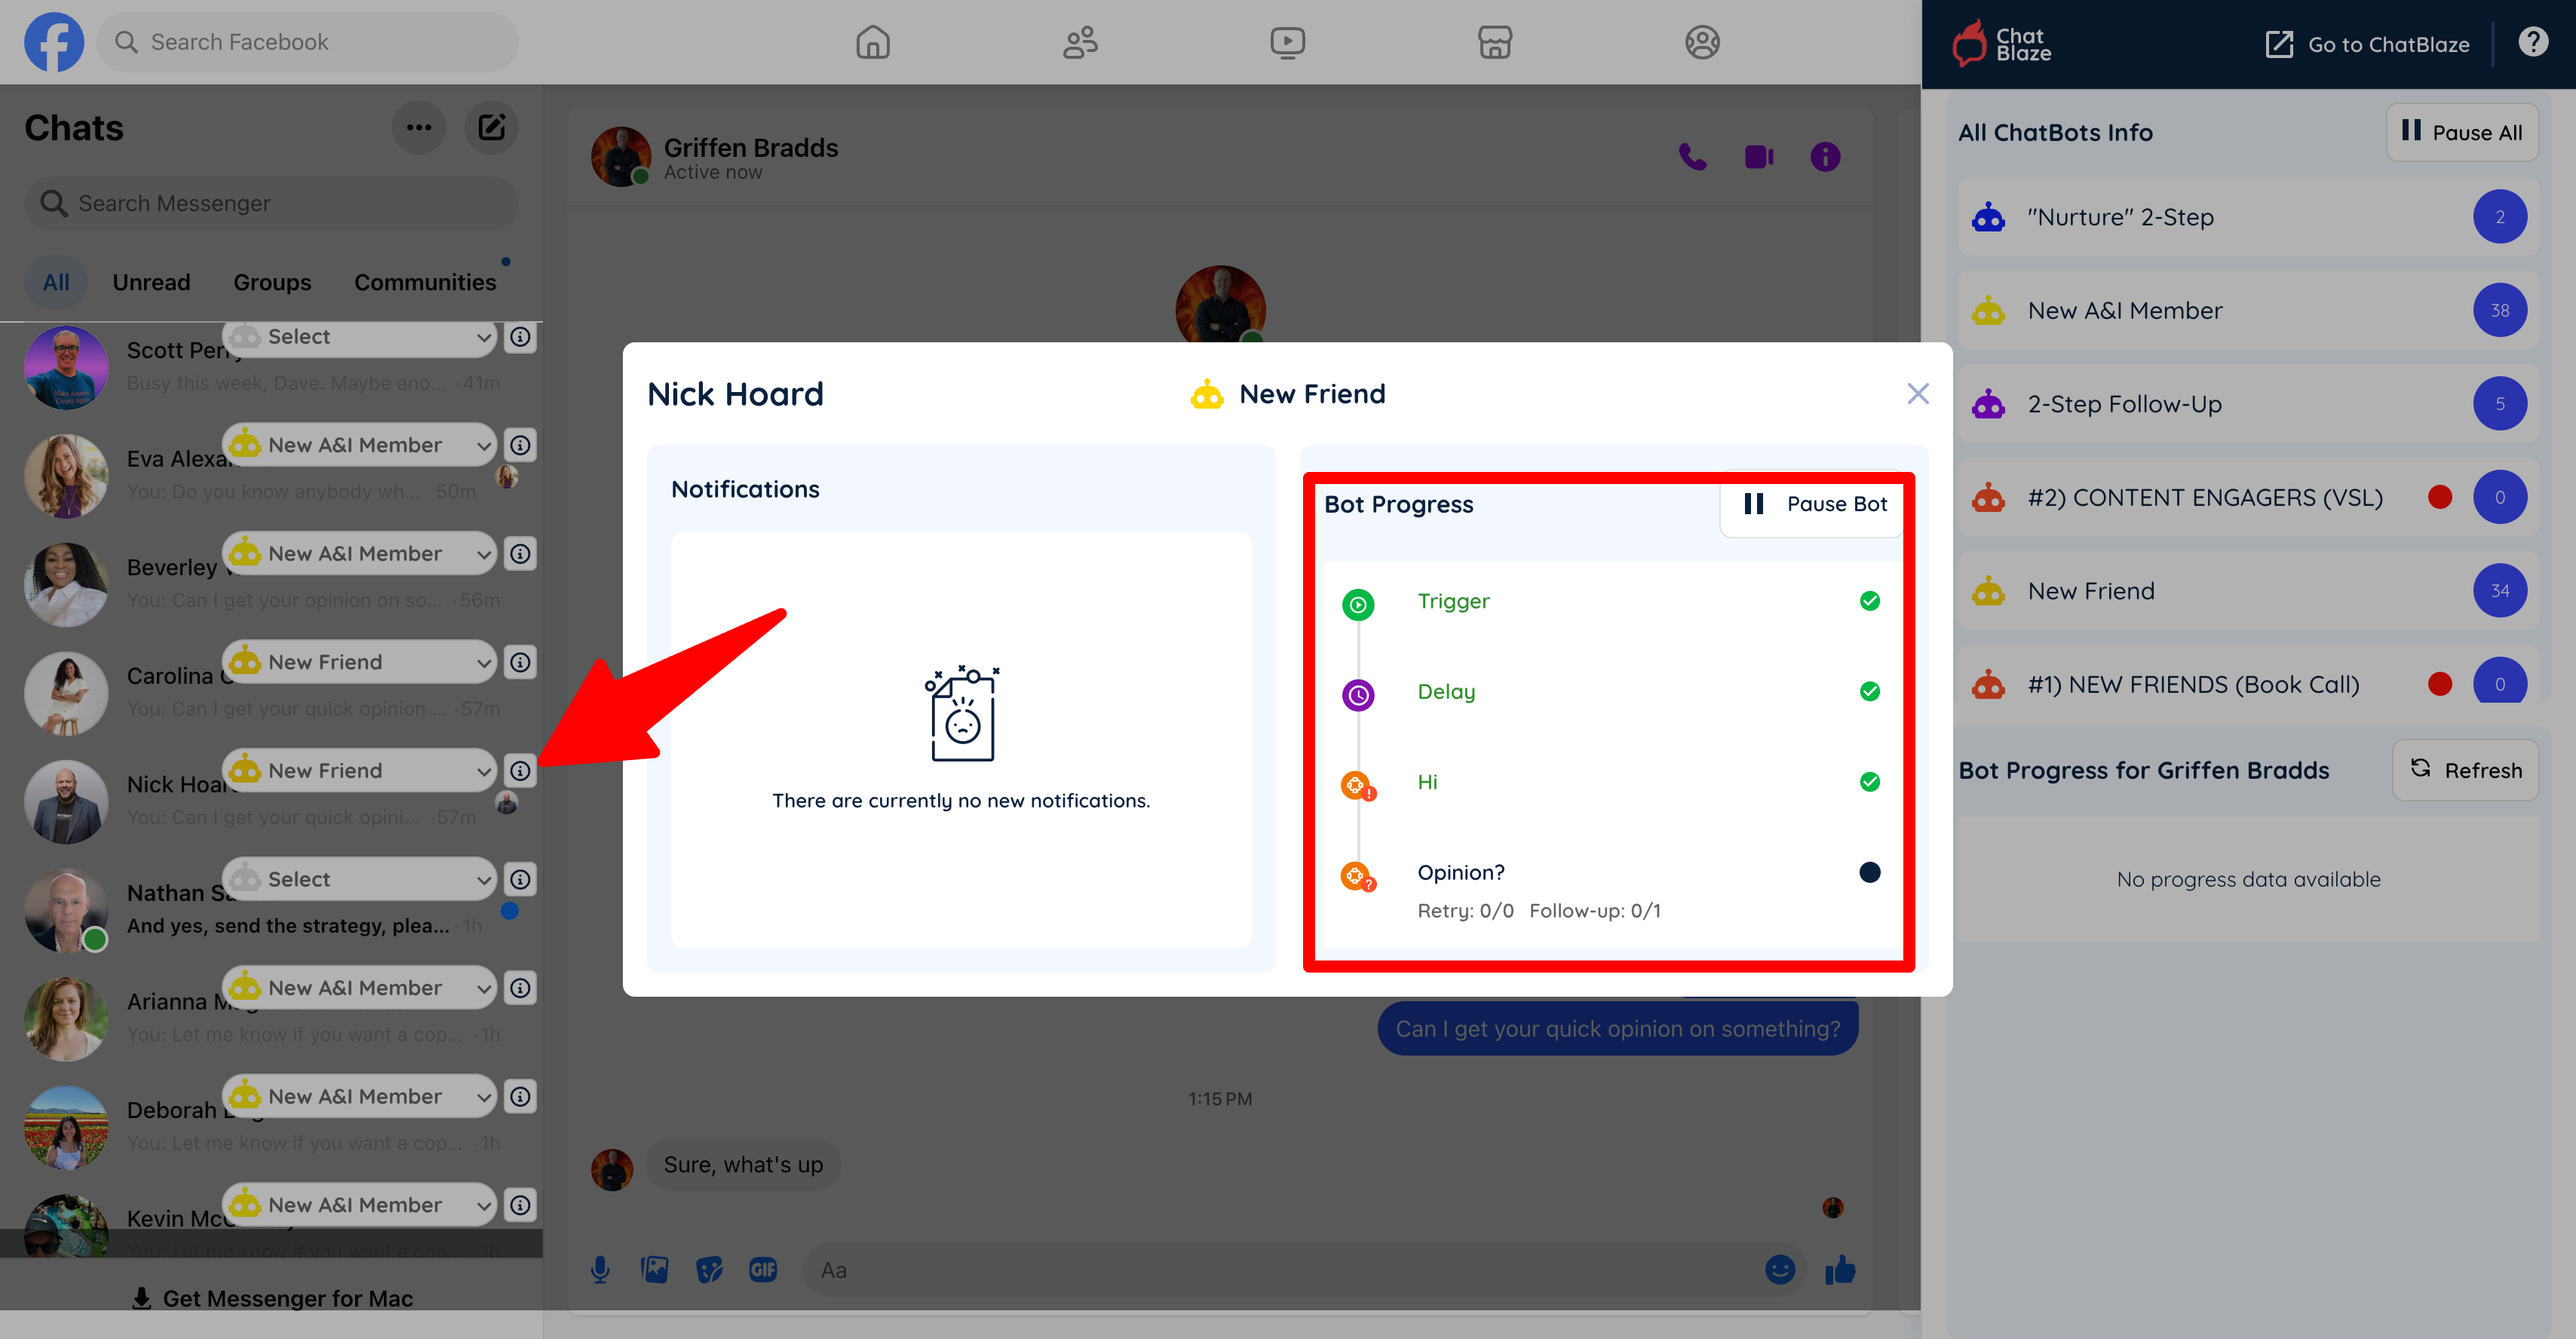
8) In the ChatBlaze Messenger window you'll be able to see which bot is assigned to each lead.
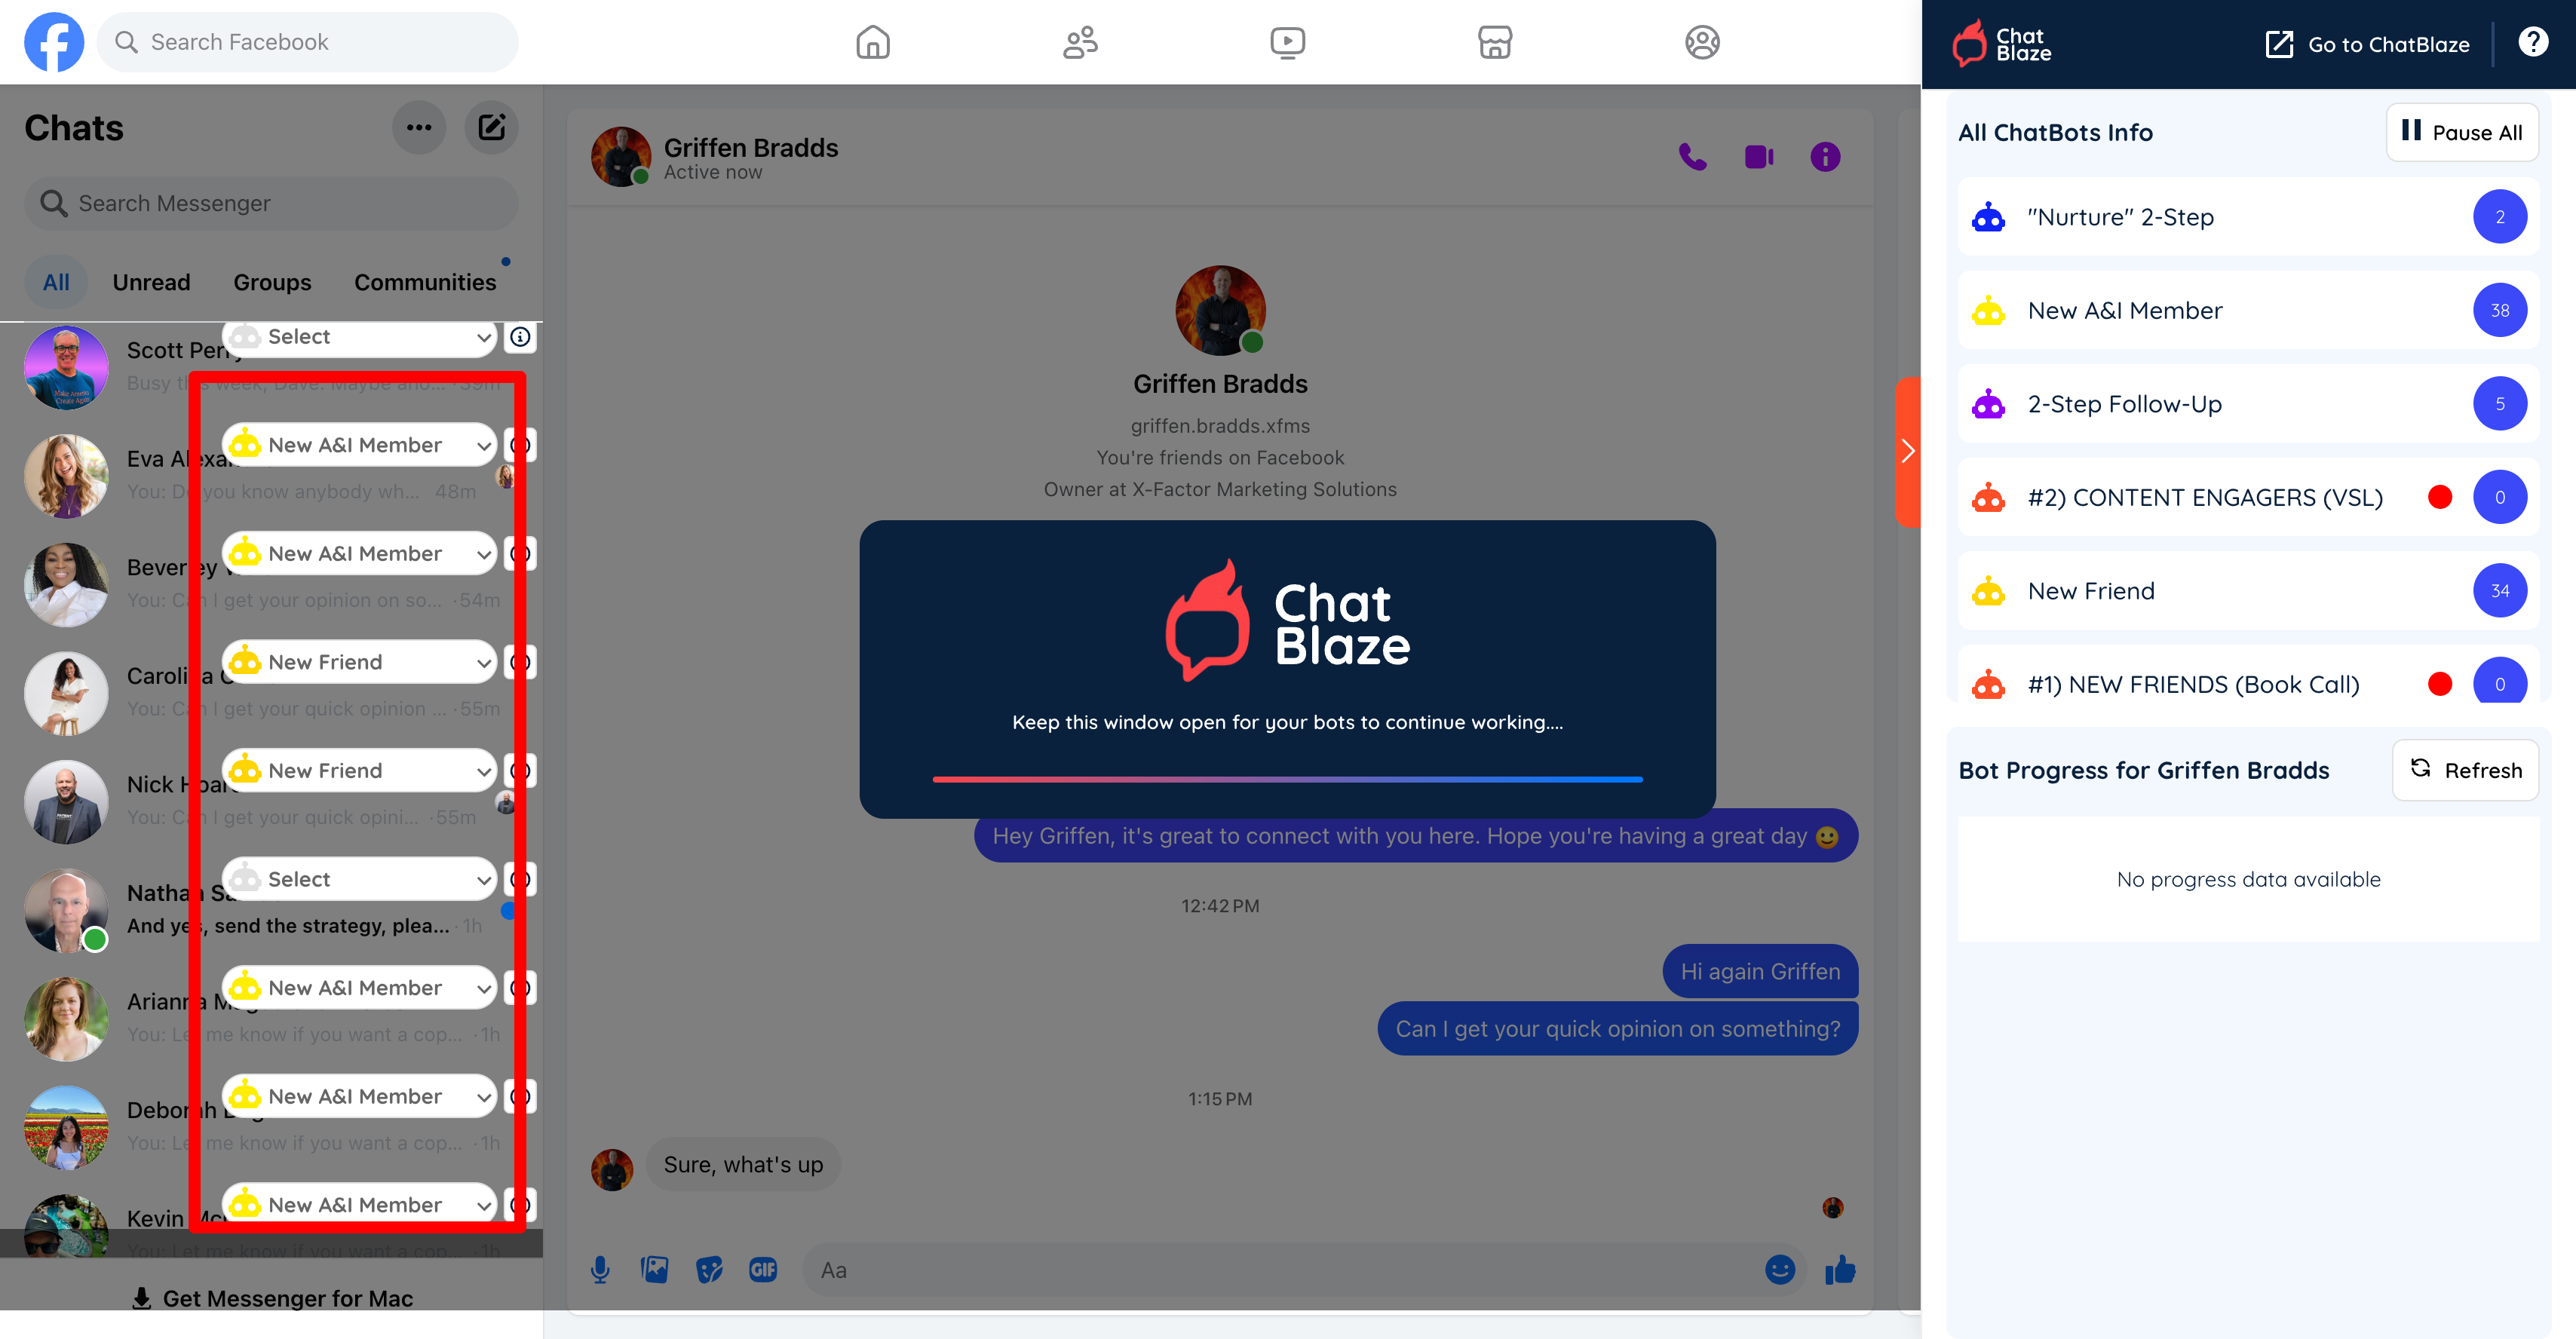
9) And clicking on the "i" icon beside each lead will show you the bot's progress with that lead so far.
Your bot will follow the conversation flow you built until a lead is disqualified (i.e. conversation ends) or your final goal is reached (e.g. an offer is made or a call is Categoryed).